imaging &
processing
While you can certainly take a lot of really great one-off shots of the sky, Moon, Sun, planets, and even nebula the best results are created by combining several exposures into one singular image. Without going too much into the technical, imaging sciences deep-dive on this page you can learn a little about the process and the kinds of work that goes into getting a single astrophoto.
Adding the Astro into photography
Astrophotography is just that, imaging the sky, space, and all of the wonderous objects that we can observe out there in both our solar system and universe. There are many kinds of astrophotography from skyscape photography of widefield night skies that have the Milky Way in them to planetary imaging and Deep Sky Object (DSO) imaging. My work has largely focused on the latter, but I would like to get more into planetary imaging in the future.
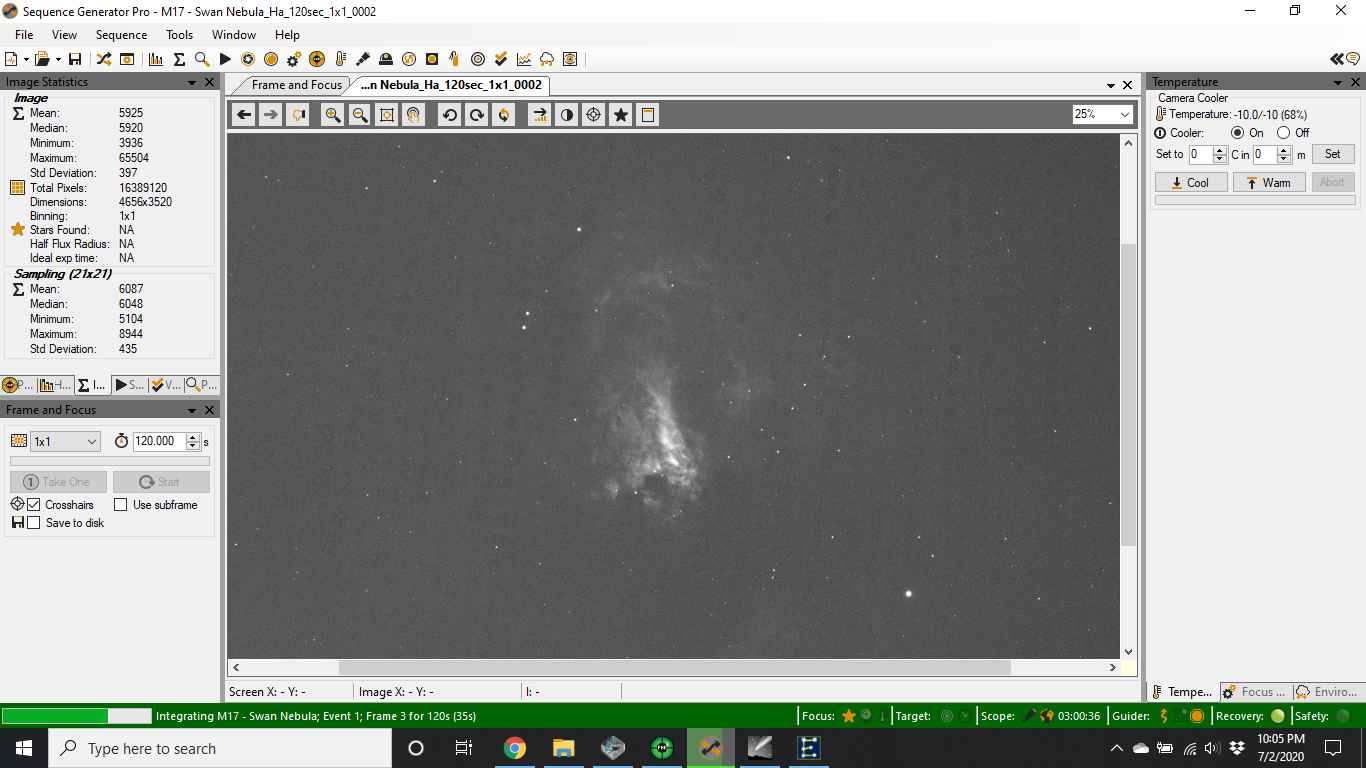
A screenshot of my Swan Nebula imaging project using Sequence Generator Pro, the software tool I use for imaging.
In the Equipment & Resources page I went over the kinds of tools that I use for imaging, so I’ll be using that as my basis. Regardless of whether you a telescope or telephoto lens, or just a regular lens, for the best results multiple images are key. For many of my targets (especially the mono ones) I usually shoot for between two and five-minute-long exposures to collect around 10-12 hours of “data” to work with. When I say data, I’m referring the sum total number of individual subframes that will go into the final product. Each of these images are often to referred to as subframes and the ones of the actual target are called your Lights and are part of an overall set of images used to calibrate and integrate the final, more on that below.
Of course, without the ability to be aided by a suite of amazing software tools and a computer enable mount I’d wouldn’t be able to achieve any of this. Early one when starting an imaging session of a target I end up spending about an hour just getting the object centered, in focus, and ensuring that my guiding is well under way.
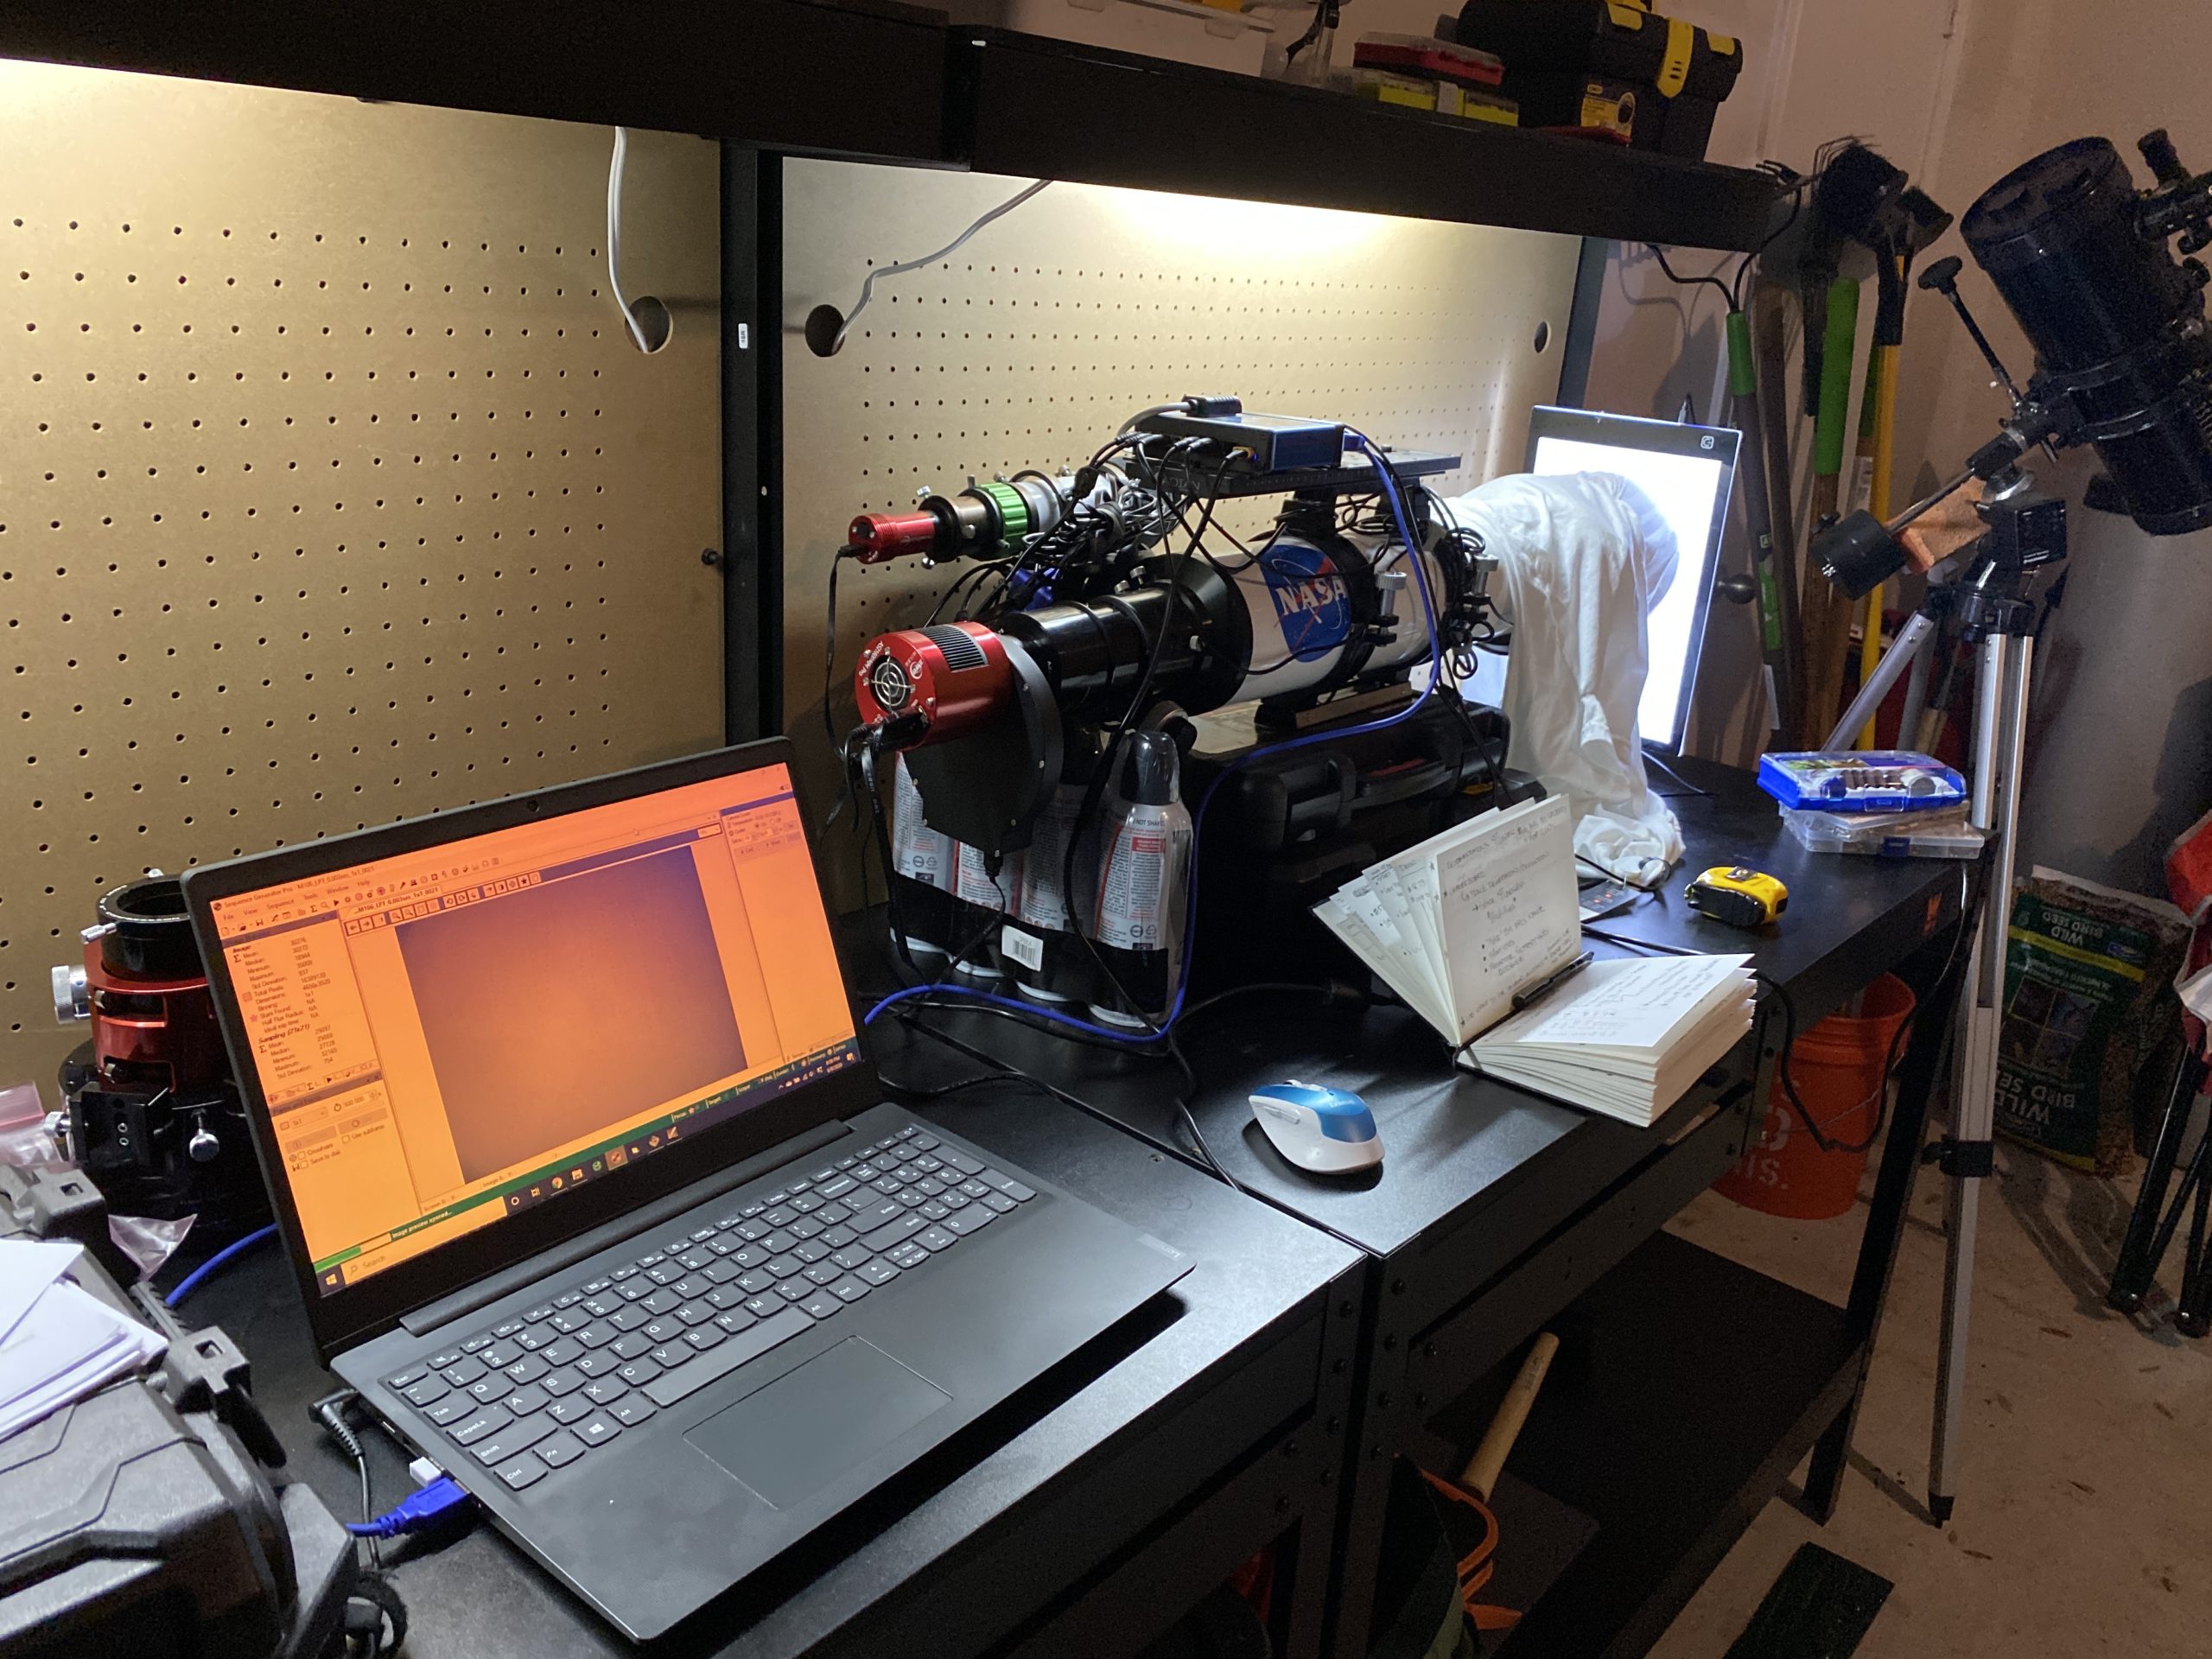
Shooting Flat frames for each filter used with the ASI 1600 and using a light panel to create an even glow.
Calibration frames & why they help
Calibration frames are considered an essential asset to getting the best out of your images and they come in three flavors: Darks, Bias, and Flats. These work in conjunction with the lights to ensure they are calibrated and ready for integration.
Both the Darks and Bias frames are actually shot with the lens cover/dust blocking all light coming into the telescope. This is important because there are many things, like dark current, noise, and hot and cold pixels that actually get captured in every subframe.
Darks are usually shot at the same temperature (if you have a temperature-controlled camera) as the Lights. This helps capture the thermal noise that builds up into each image and allows you to map it to what is naturally occurring in the Lights. Alternatively, the Bias frames are super-fast, 1/100th or faster images. These help you to capture any read noise inherent into the sensor that would also appear in your images. And the last one, Flat frames, are also super-fast images, but often gathered using a light box to produce an even glow across the whole camera sensor. These frames allow you to capture any dust motes or other kinds “stuff” that might sit on top of the sensor or telescope’s lenses or mirrors.
Integration, integration, and pre-processing
Armed with all of these images in hand, which can literally end being in the hundreds, we are ready to begin the magic. The first step is to calibrate the Light subframes using all of the other calibration frames mentioned above. The Darks, Bias, and Flat frames are each integrated into a single set of images called a Master Dark, Master Bias, and Master Flat with each being the sum total of their collective parts. Each of these master frames are then mapped to the various light frames and subtracted from the Lights to remove the read and thermal noise and the dust and other “stuff” that might be on the sensor or telescope. This produces a set of calibrated Light subframes for integration. Luckily there are plenty of great software tools that do this automagically for you!
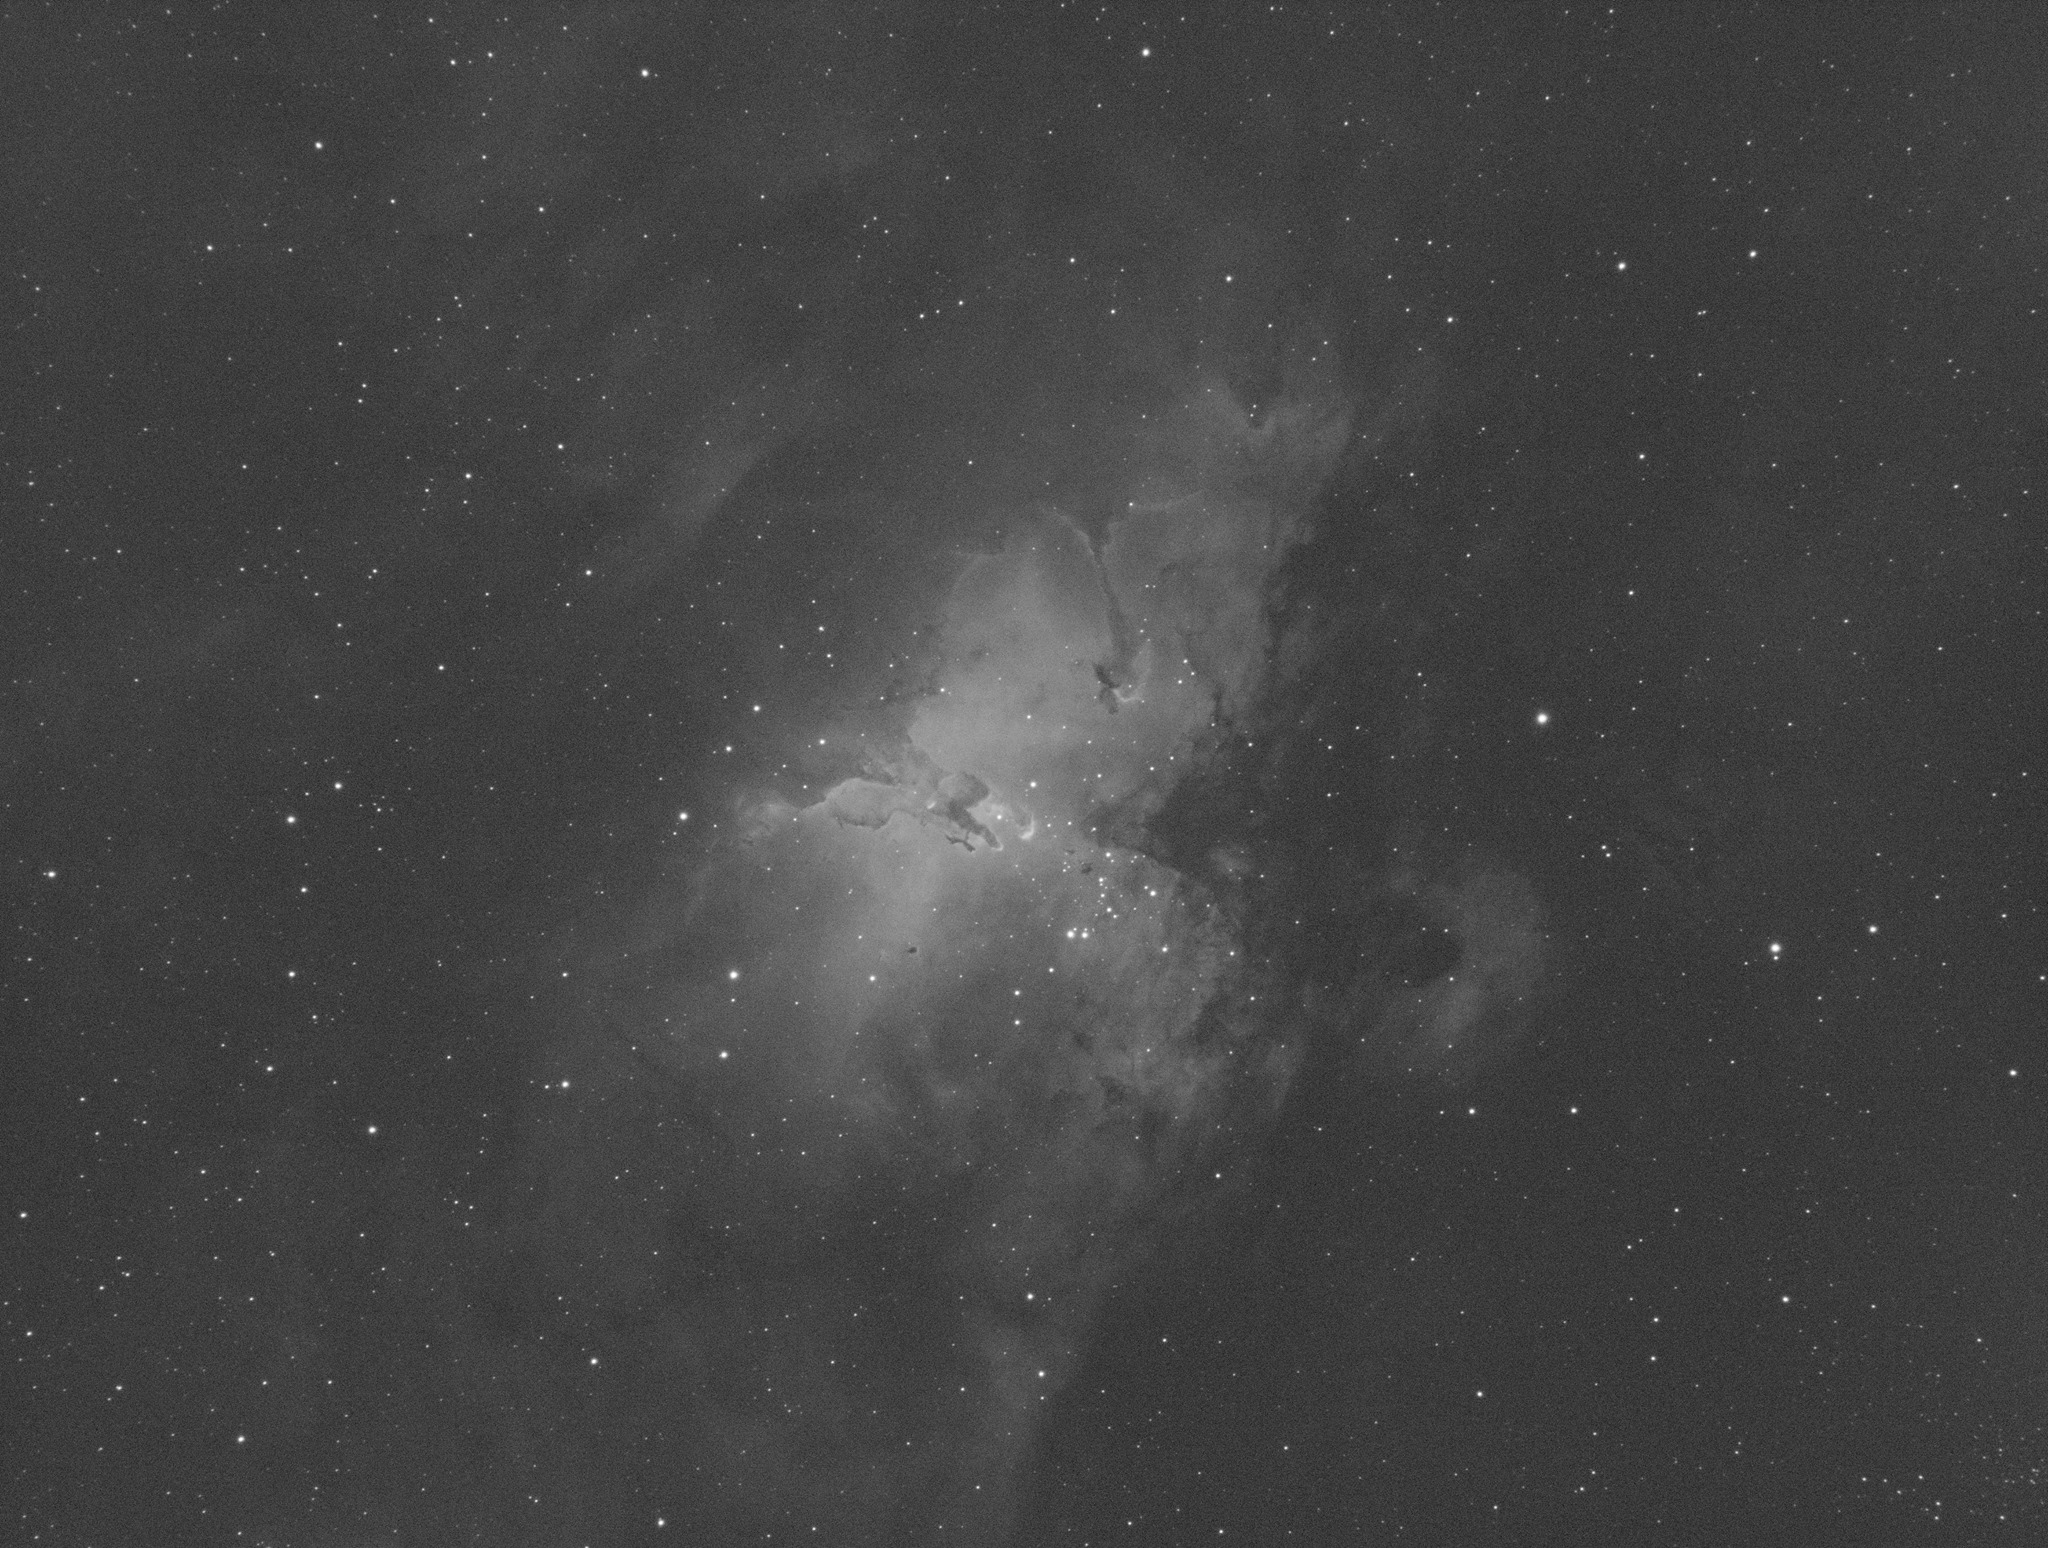
A single two minute Light subframe of M16 using the Hydrogen alpha filter that is uncalibrated.
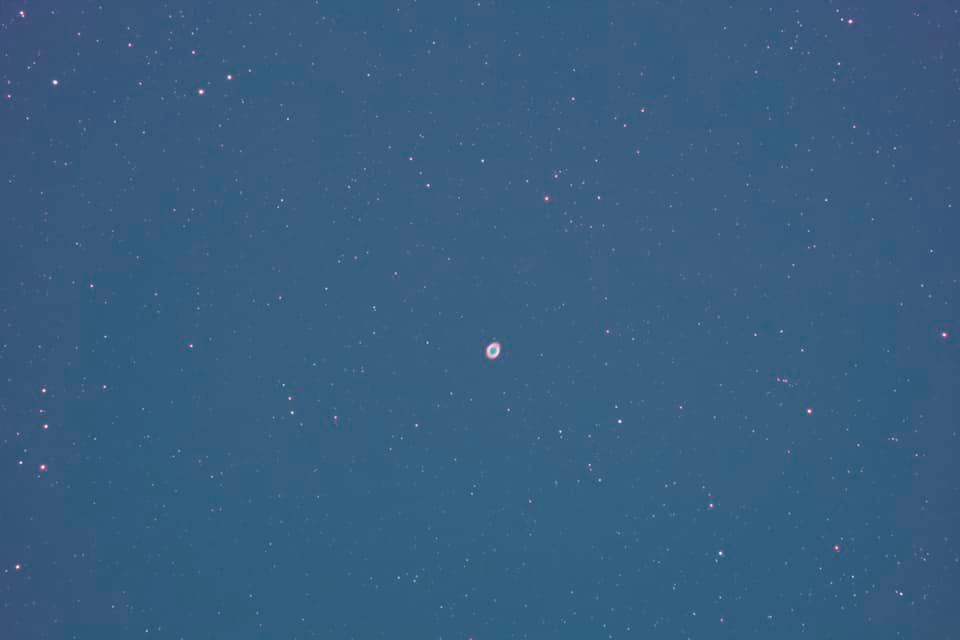
A single two minute calibrated Light frame of the Ring Nebula shot with my astromodified Canon T3i.
OK, so now you have a set of calibrated Lights, but how do I get my final image? Well that part comes in three steps that I use PixInsight, an astrophotography image processing tool, for. First step is to Cosmetically Correct (CC) each of the newly calibrated frames. CC is a tool in PixInsight that uses a super smart algorithm to go through each image and “correct” for images that might have satellites or airplanes flying through them and remove the light streaks.
The next step is registration. Since each image can move subtly over the process as you track the object across the sky you have to register the images. This is a fancy way of saying, “Hey computer, make sure these stars match and align with the same stars in all these other images!” This allows us to ensure that when we integrate the many into the one everything lights up like we hope it would.
Finally, we have image integration. Now that we calibrated, cosmetically corrected, and aligned all of the Light subframes we can take all that data merge it into a single image. If you are using a once shot color (OSC) camera such as a DSLR this will produce a single image. However, if like me you are shooting in mono using filters, you have more of a journey to go. All of the steps noted above have to first be integrated into single images for each filter first. So, if you are shooting with red, green, blue filters you would an image for each of those. Then, you have to re-register those “master filter” frames to produce a single, color image.
A little about post-processing
That we have calibrated and stacked all of the images together the real fun of processing begins. I use the program PixInsight for my integration, pre-, and post processing but there are other great tools out there as well both free and not free. When it comes to processing images there are two states for images, what are known as linear and non-linear. Linear can be thought of as the most natural, unedited form of the image when it is first integrated. What this means is that these images have not had their histograms “stretched” to point where the objects are naturally visible in the image. This often causes them to look very dark. There are auto-stretch tools that allow you to brighten up the image so you can actually see what you are working with, this stretch isn’t permanent.
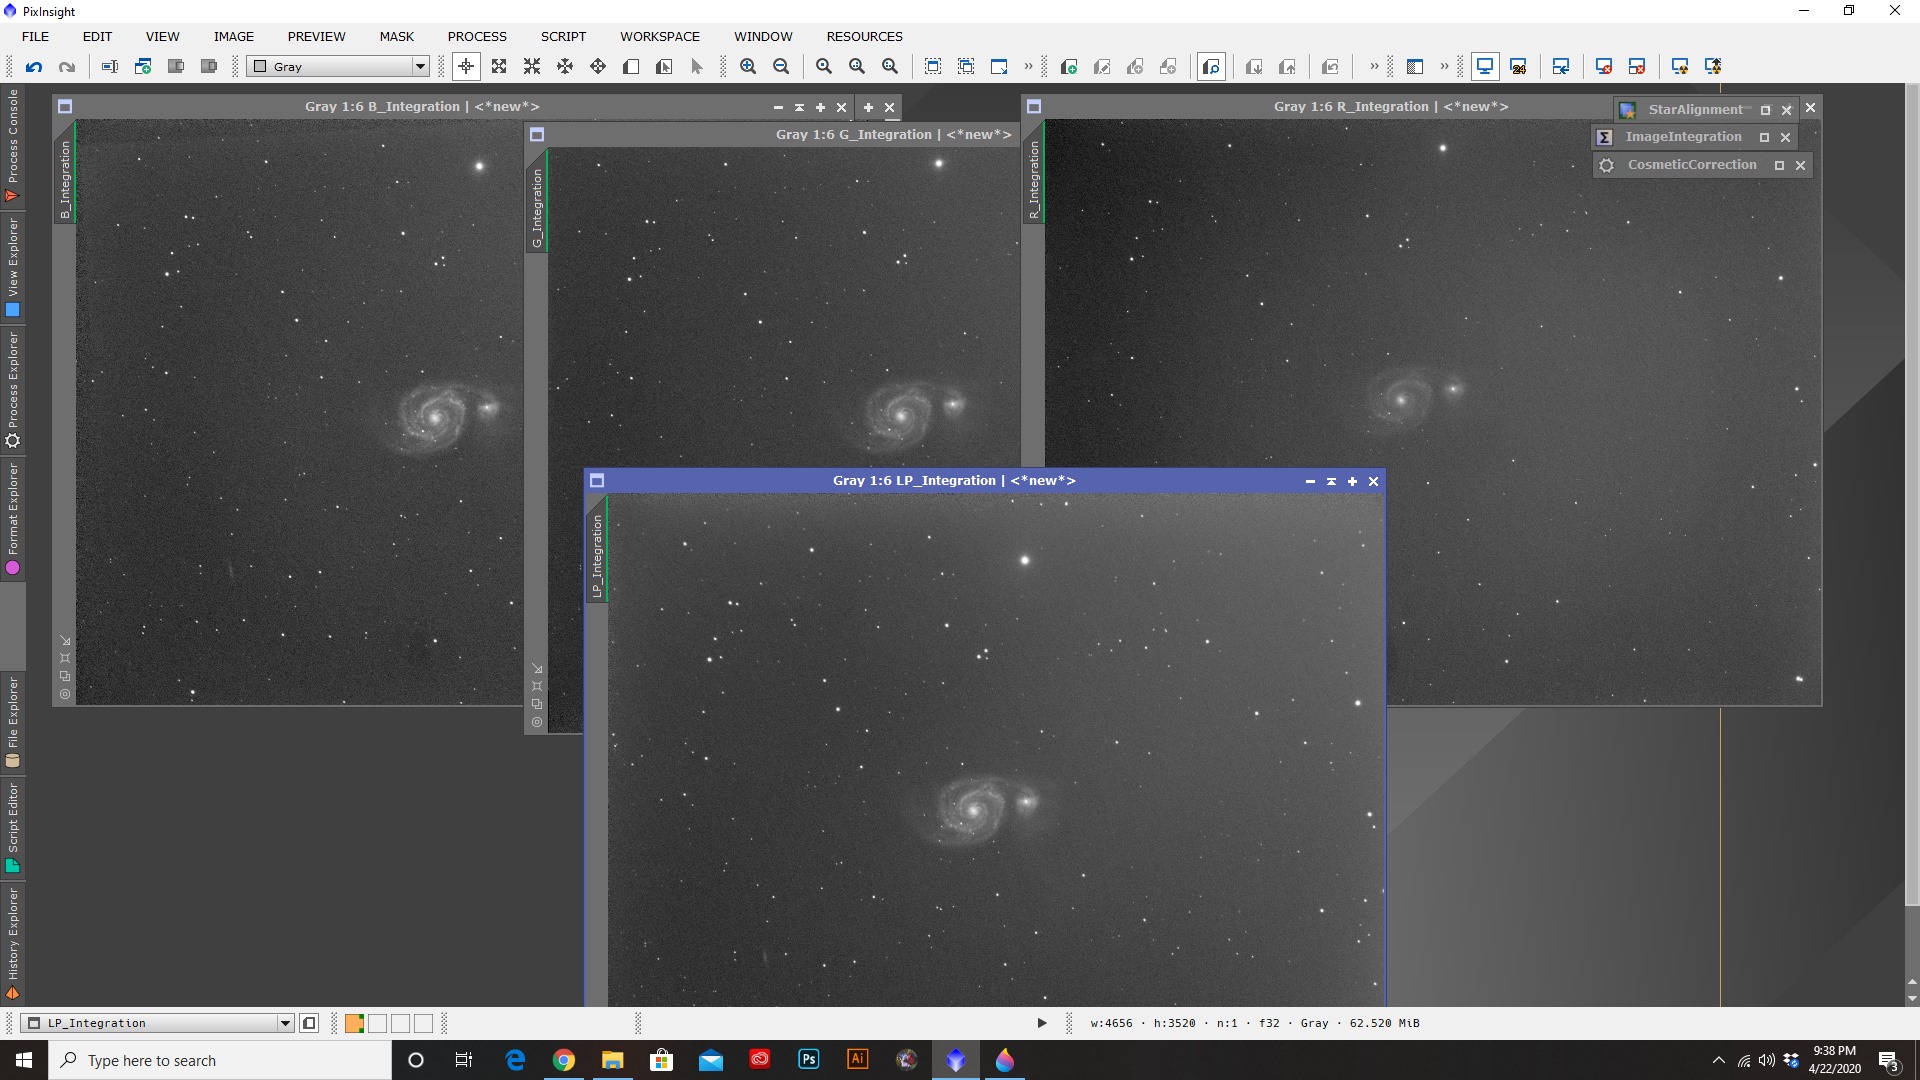
Individual mono filter images calibrated and integrated prior to the final color image mapping.
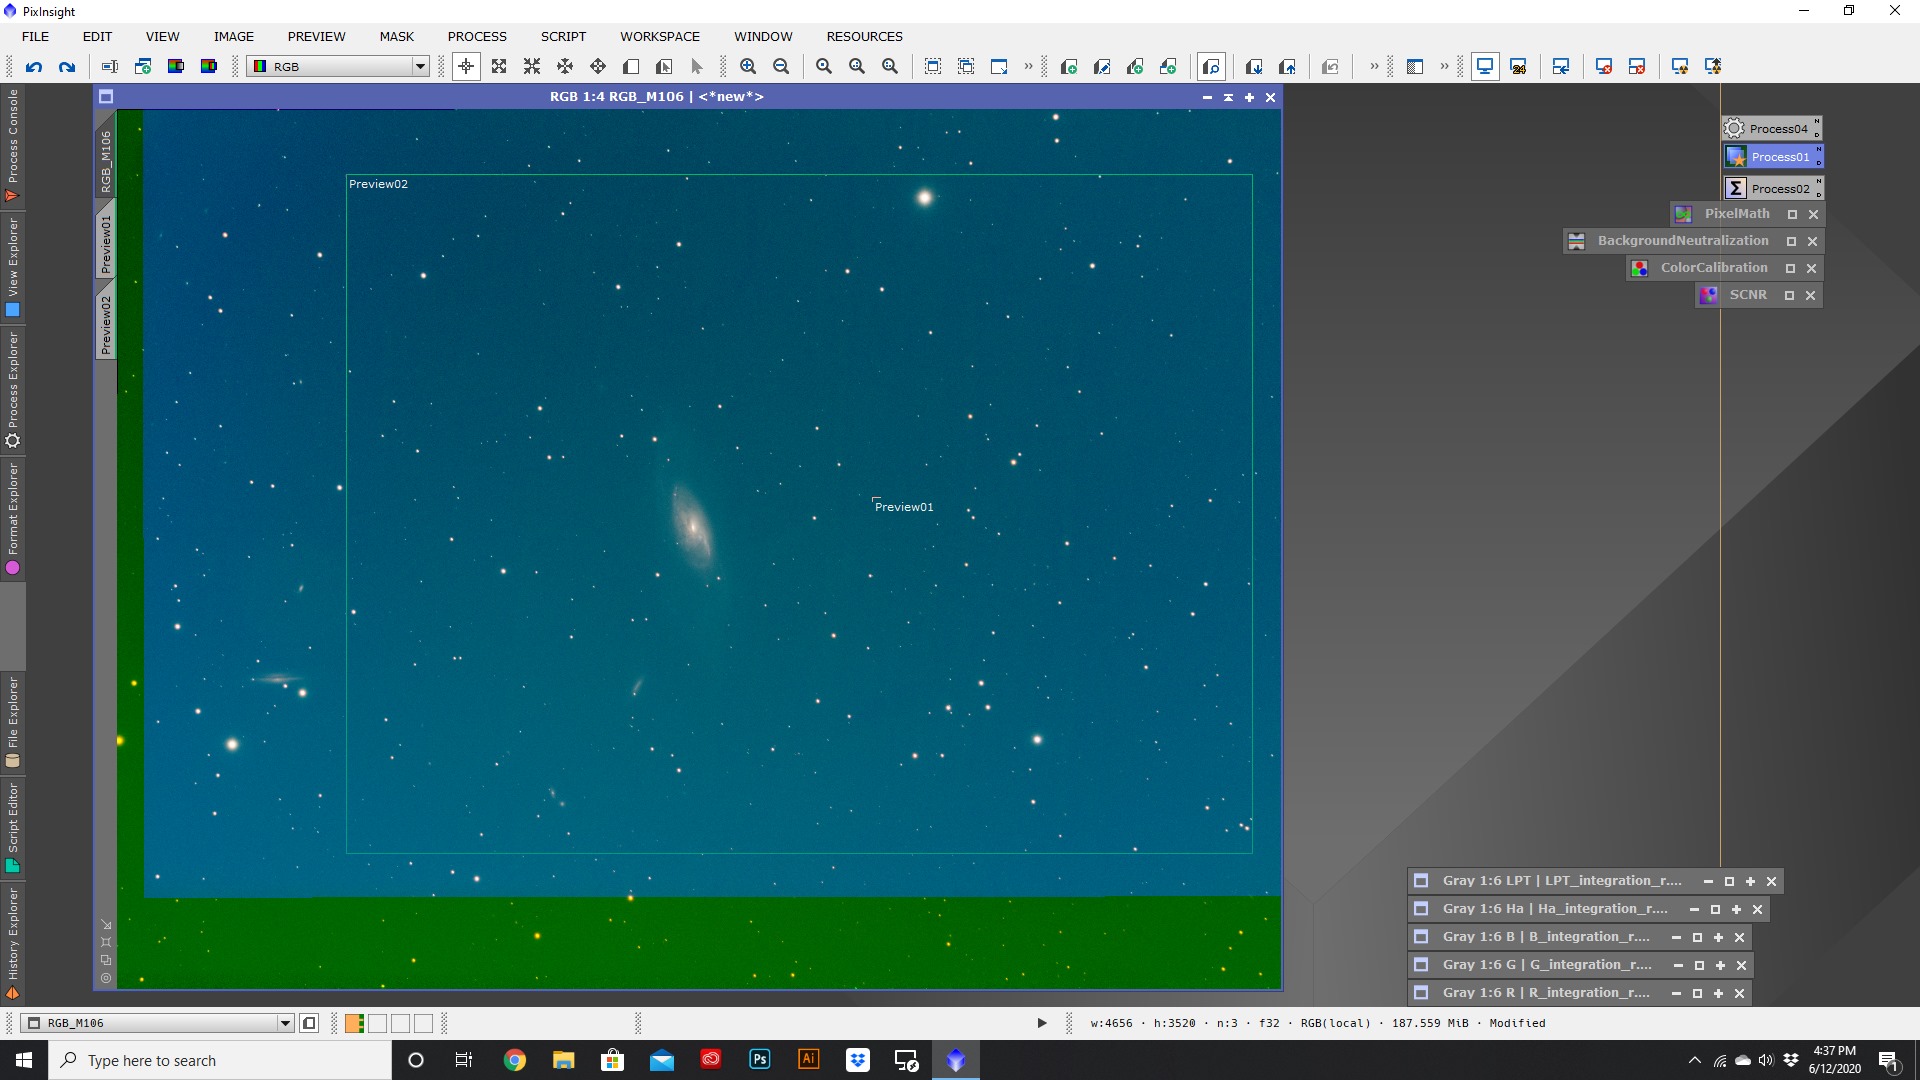
My M106 project with each of the mono filters mapped together to produce and RGB non-linear image that has yet to be color calibrated.
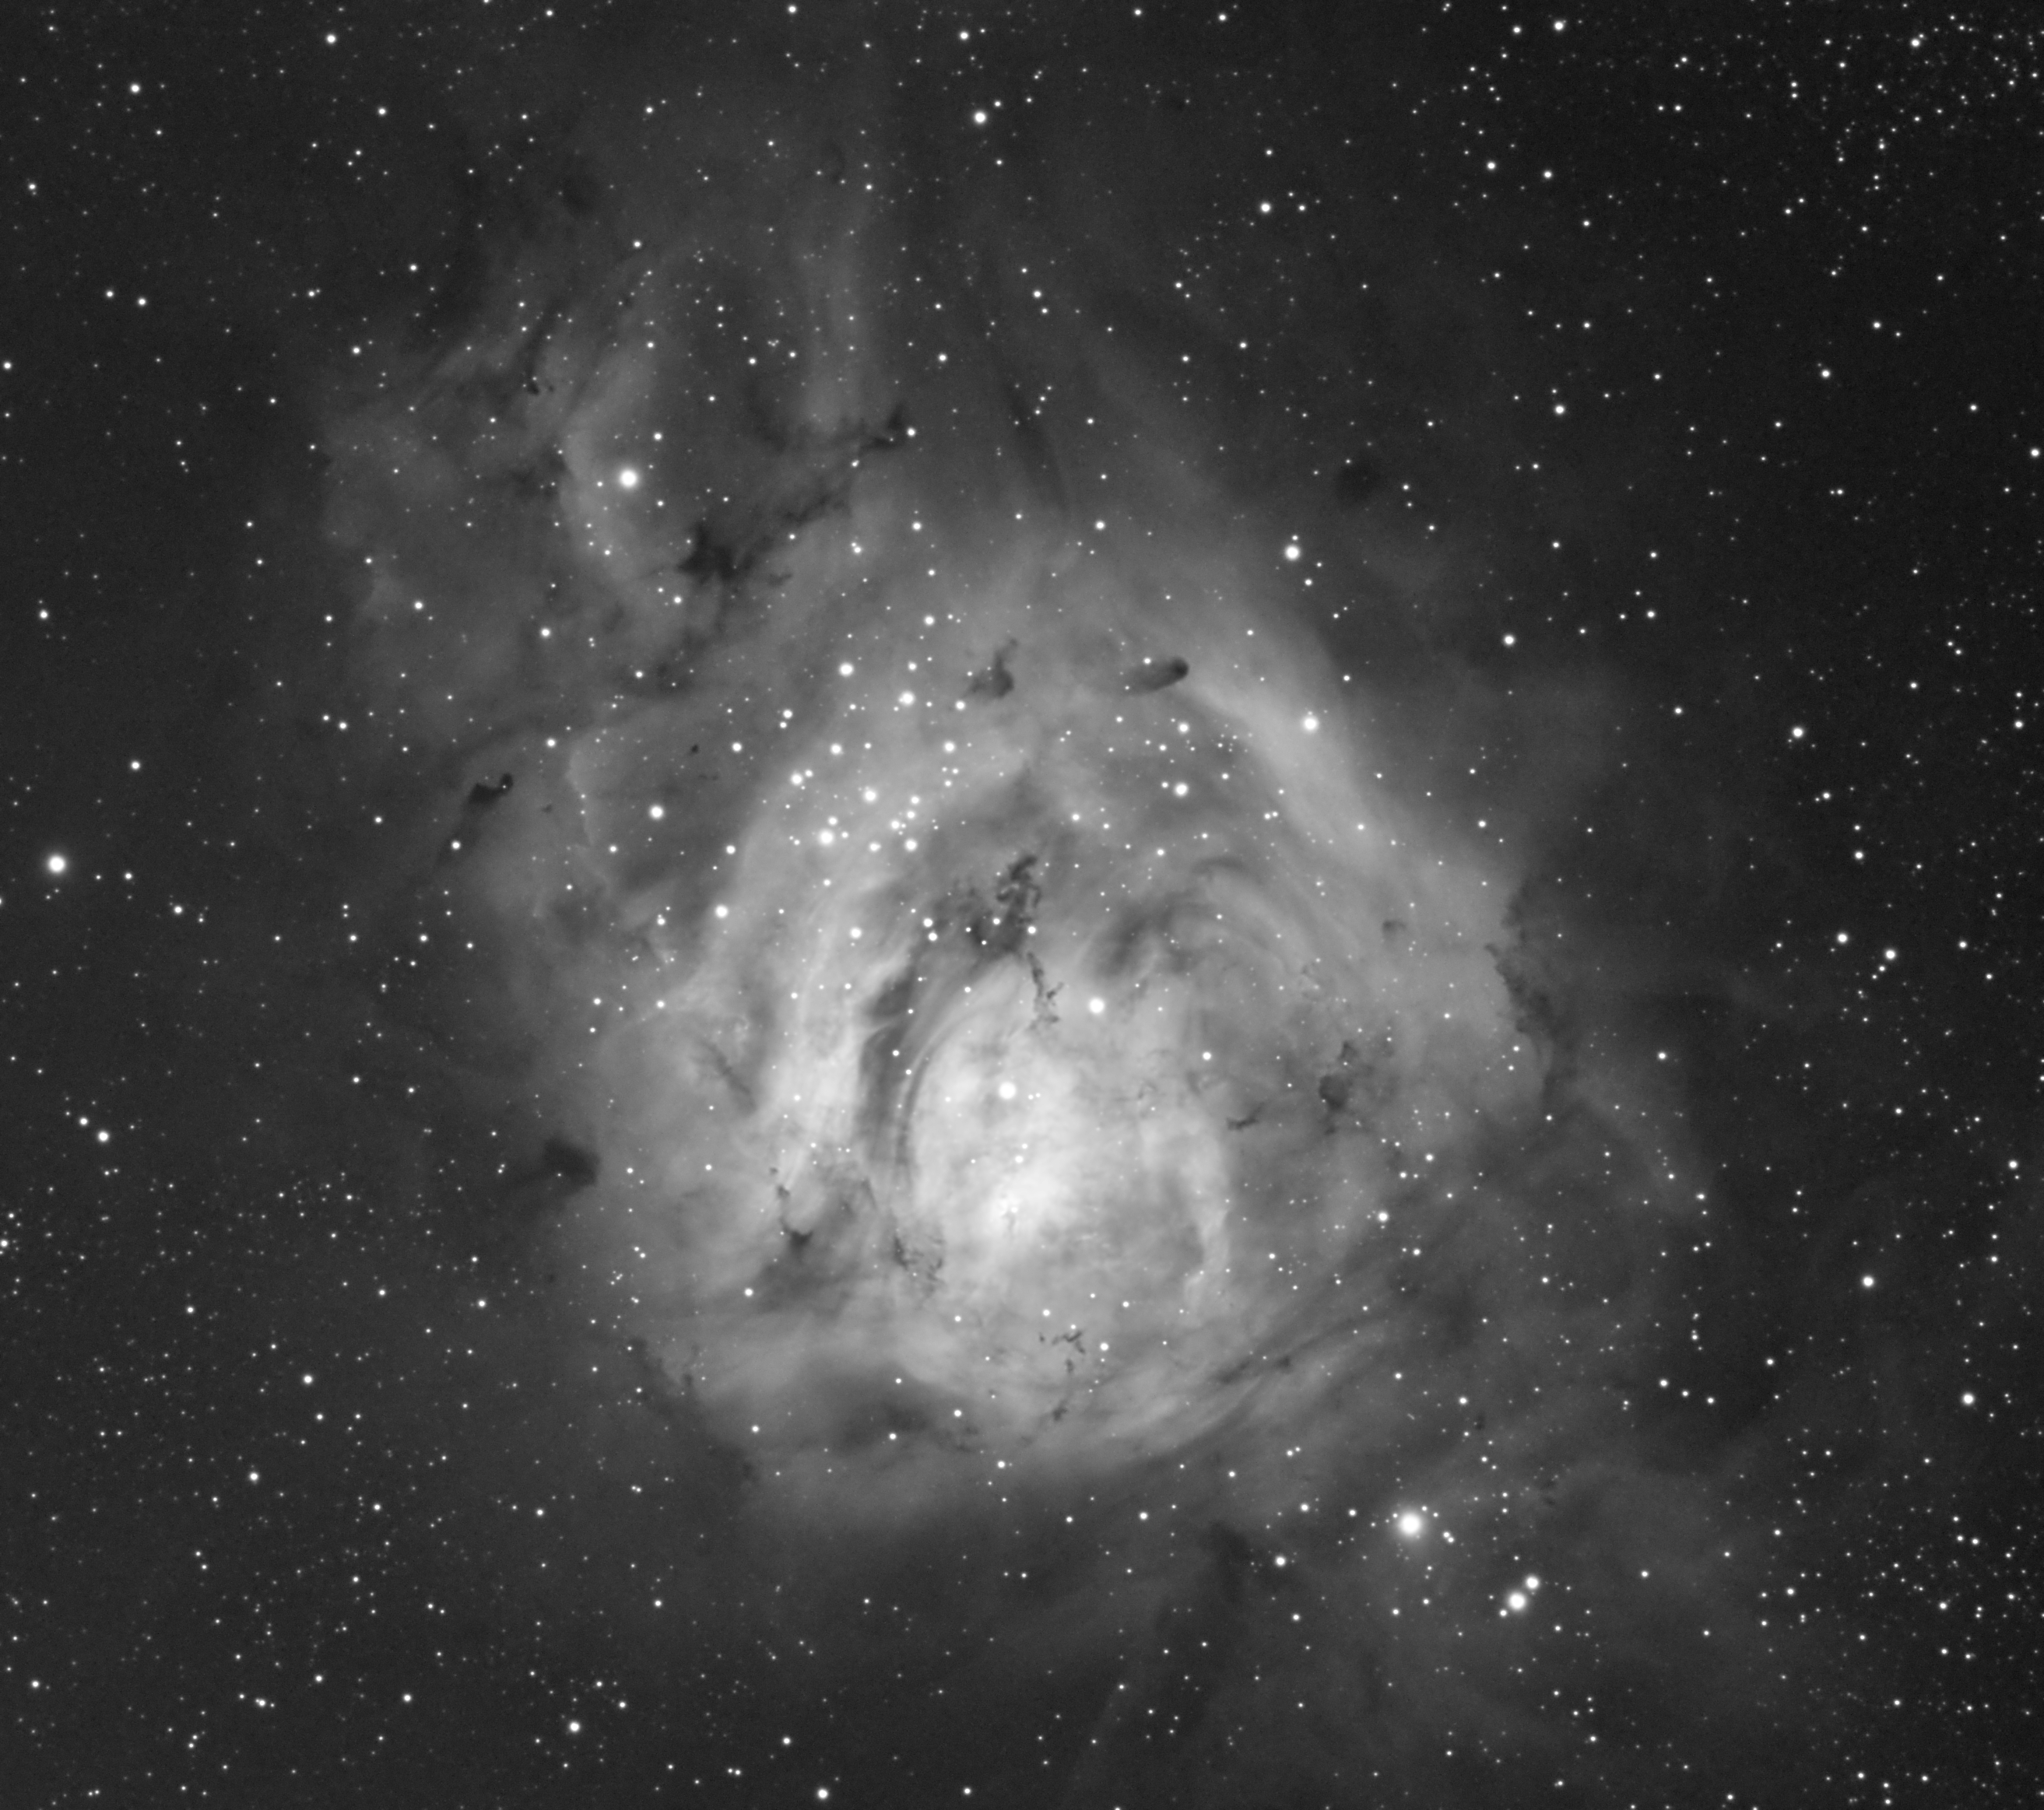
An integrated and processed frame of the Oxygen 3 filter, comprised of 2 hours of 2 minute subframes.
However, this is an important time point in time to do color calibrations and the first step of denoising if the image is using OSC data. If the images are done in mono for each filter, then this is the appropriate time to denoise the image. There are many different denoising tools in PixInsight that can help clear up both luminance and chrominance noise in the image and do so at different layers based on the pixel coverage.
Once the image has been color calibrated and denoised then it’s time to permanently stretch the image’s histogram into a non-linear state. When this has been completed, we can now apply different adjustments to the image such as color mapping for mono images, sharpening, saturation, and any secondary denoising necessary. This is the part of processing where the magic really happens, and you can work up pulling out the details and colors of the image.
At this point the image has been processed any other desired tweaks or edits could be done in Photoshop or some other image editing software.
Afterthoughts
Astrophotography isn’t an easy hobby and more often than not it’s rather frustrating, whether it’s hardware troubles, imaging troubles, data troubles, or processing troubles there can be plenty of roadblocks along the way, BUT regardless of that, it’s a hobby that is insanely rewarding. When you get the opportunity to make images of the beautiful universe above it feels magical and I always walk away (even when mad) feeling humbled and inspired by what I get to do.